This post is intention to help future international PhD students to ease their enrollment process.
Step 1: Find a mentor and prepare your documents
You need to find a topic, working title, individual curriculum and supervising team (supervisor and mentor) yourself to be able to fill out the form. According to our curriulum for the doctoral studies the mentor needs to have a venia docendi.
If your degrees are not from a EU country, you need a full authentication or an Apostille of your documents (and the translations, if your documents are not in English), please inform yourself if you’d need either an authentication or Apostille for Austria! This is valid for both, Master’s documents as well as bachelor’s!
If you can not obtain an authentication/Apostille we also accept a translation of your 4 academical documents by an officially licenced translator in Austria instead.
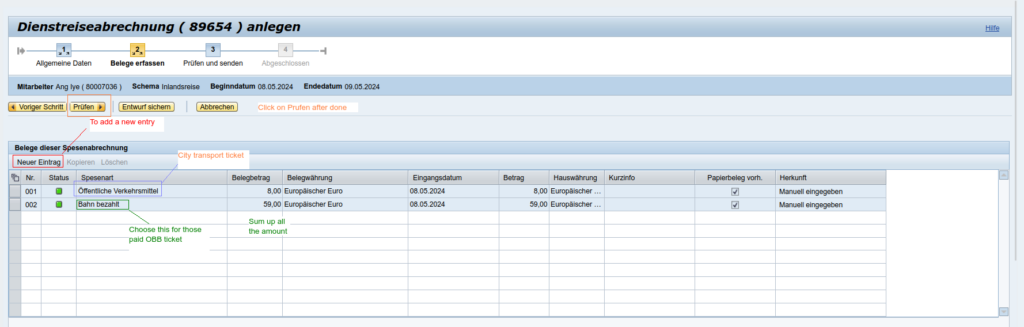
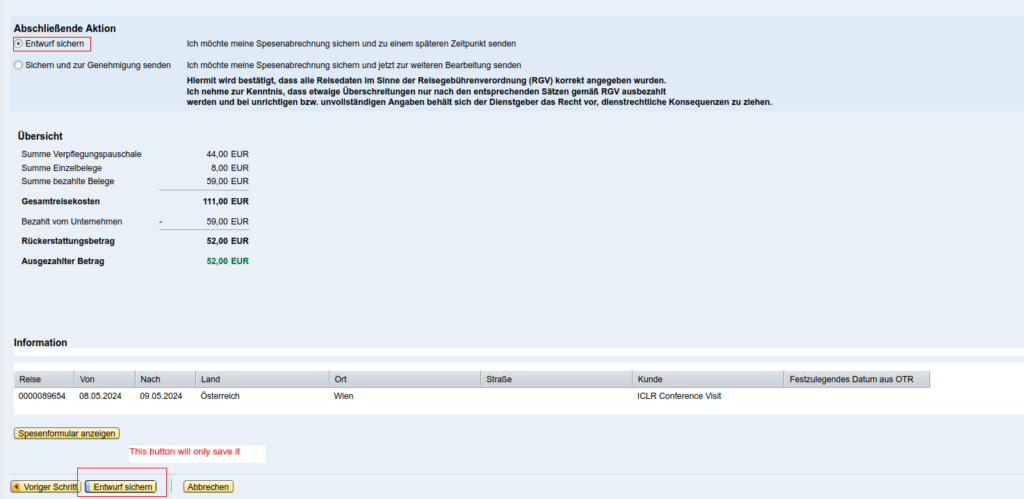
Step 2: Applications form
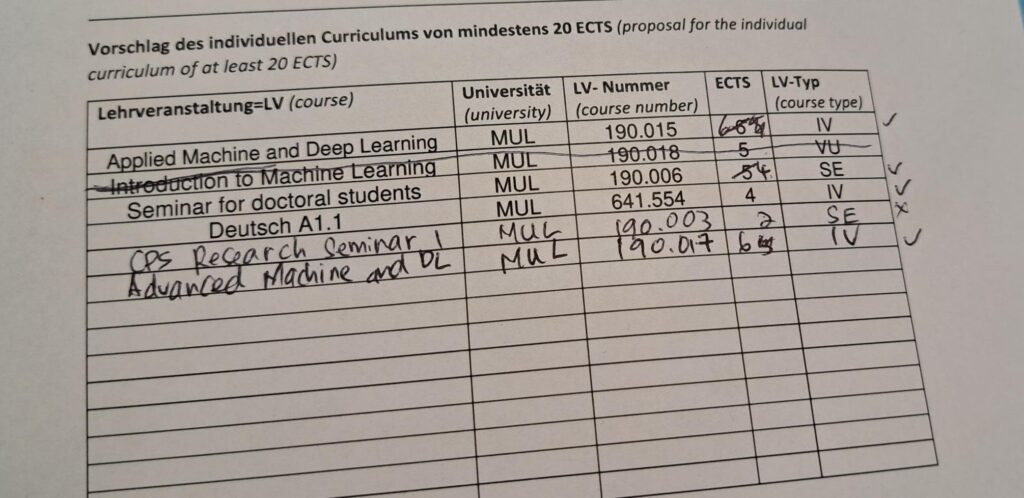
You have also required to fulfil 20 ECTS, they have to be split in main and secondary subject:
- Courses that don’t have anything to do with your subjects (language courses etc.) you can do up to 4 ECTS
-
Privatissima (talking to your prof, SE type) for a maximum of 4 ECTS
-
There is no limit on IV courses
-
And you can also have stuff (eg. summer school) from other unis, however you have to go through the equality process (they will check if it really is equal to the ects here)
These stated in the curriculum, which is in German.
Example course:
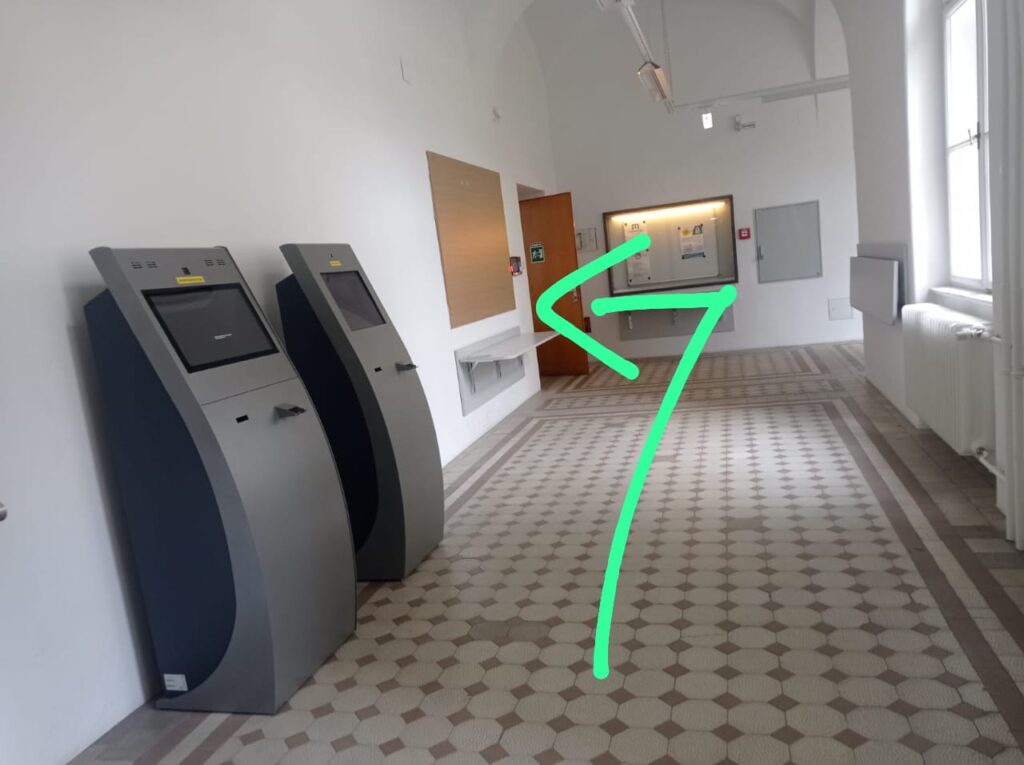
Step 3: Online registration for graduates of Non-Austrian University
Create a basic account in MUonline of the university. You have to create a student account even you have a staff account.
p/s: Sign out your staff account when you’re in the process of creating a basic account.
Detailed admission process at here.
Step 4: Waiting and make appointment to verify the real document