How to build a professional low-cost lightboard for teaching
Making Virtual Lectures Interactive
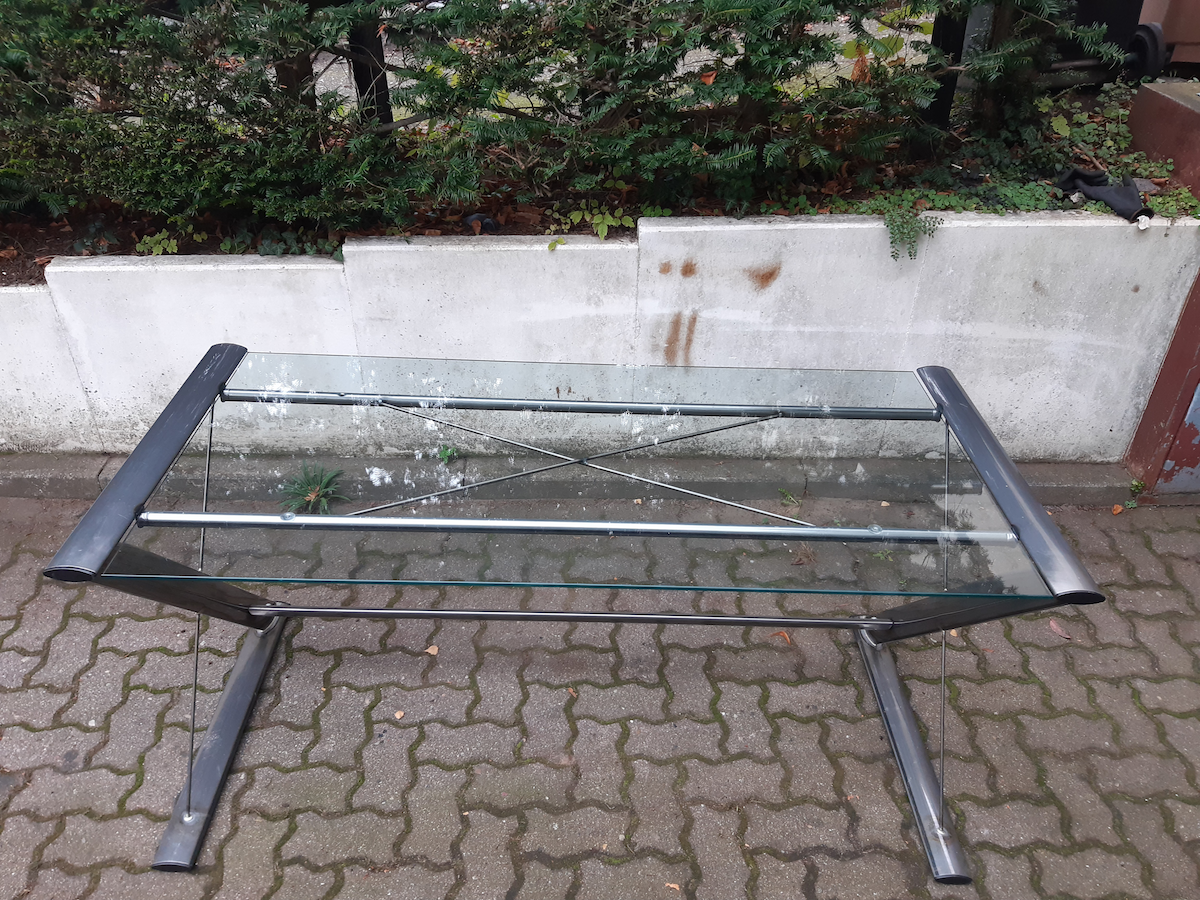
Giving virtual lectures can be exciting. Inspired by numerous blog posts of colleagues all over the world (e.g., [1], [2]), I decided to turned an ordinary glass desk into a light board. The total costs were less than 100 EUR.
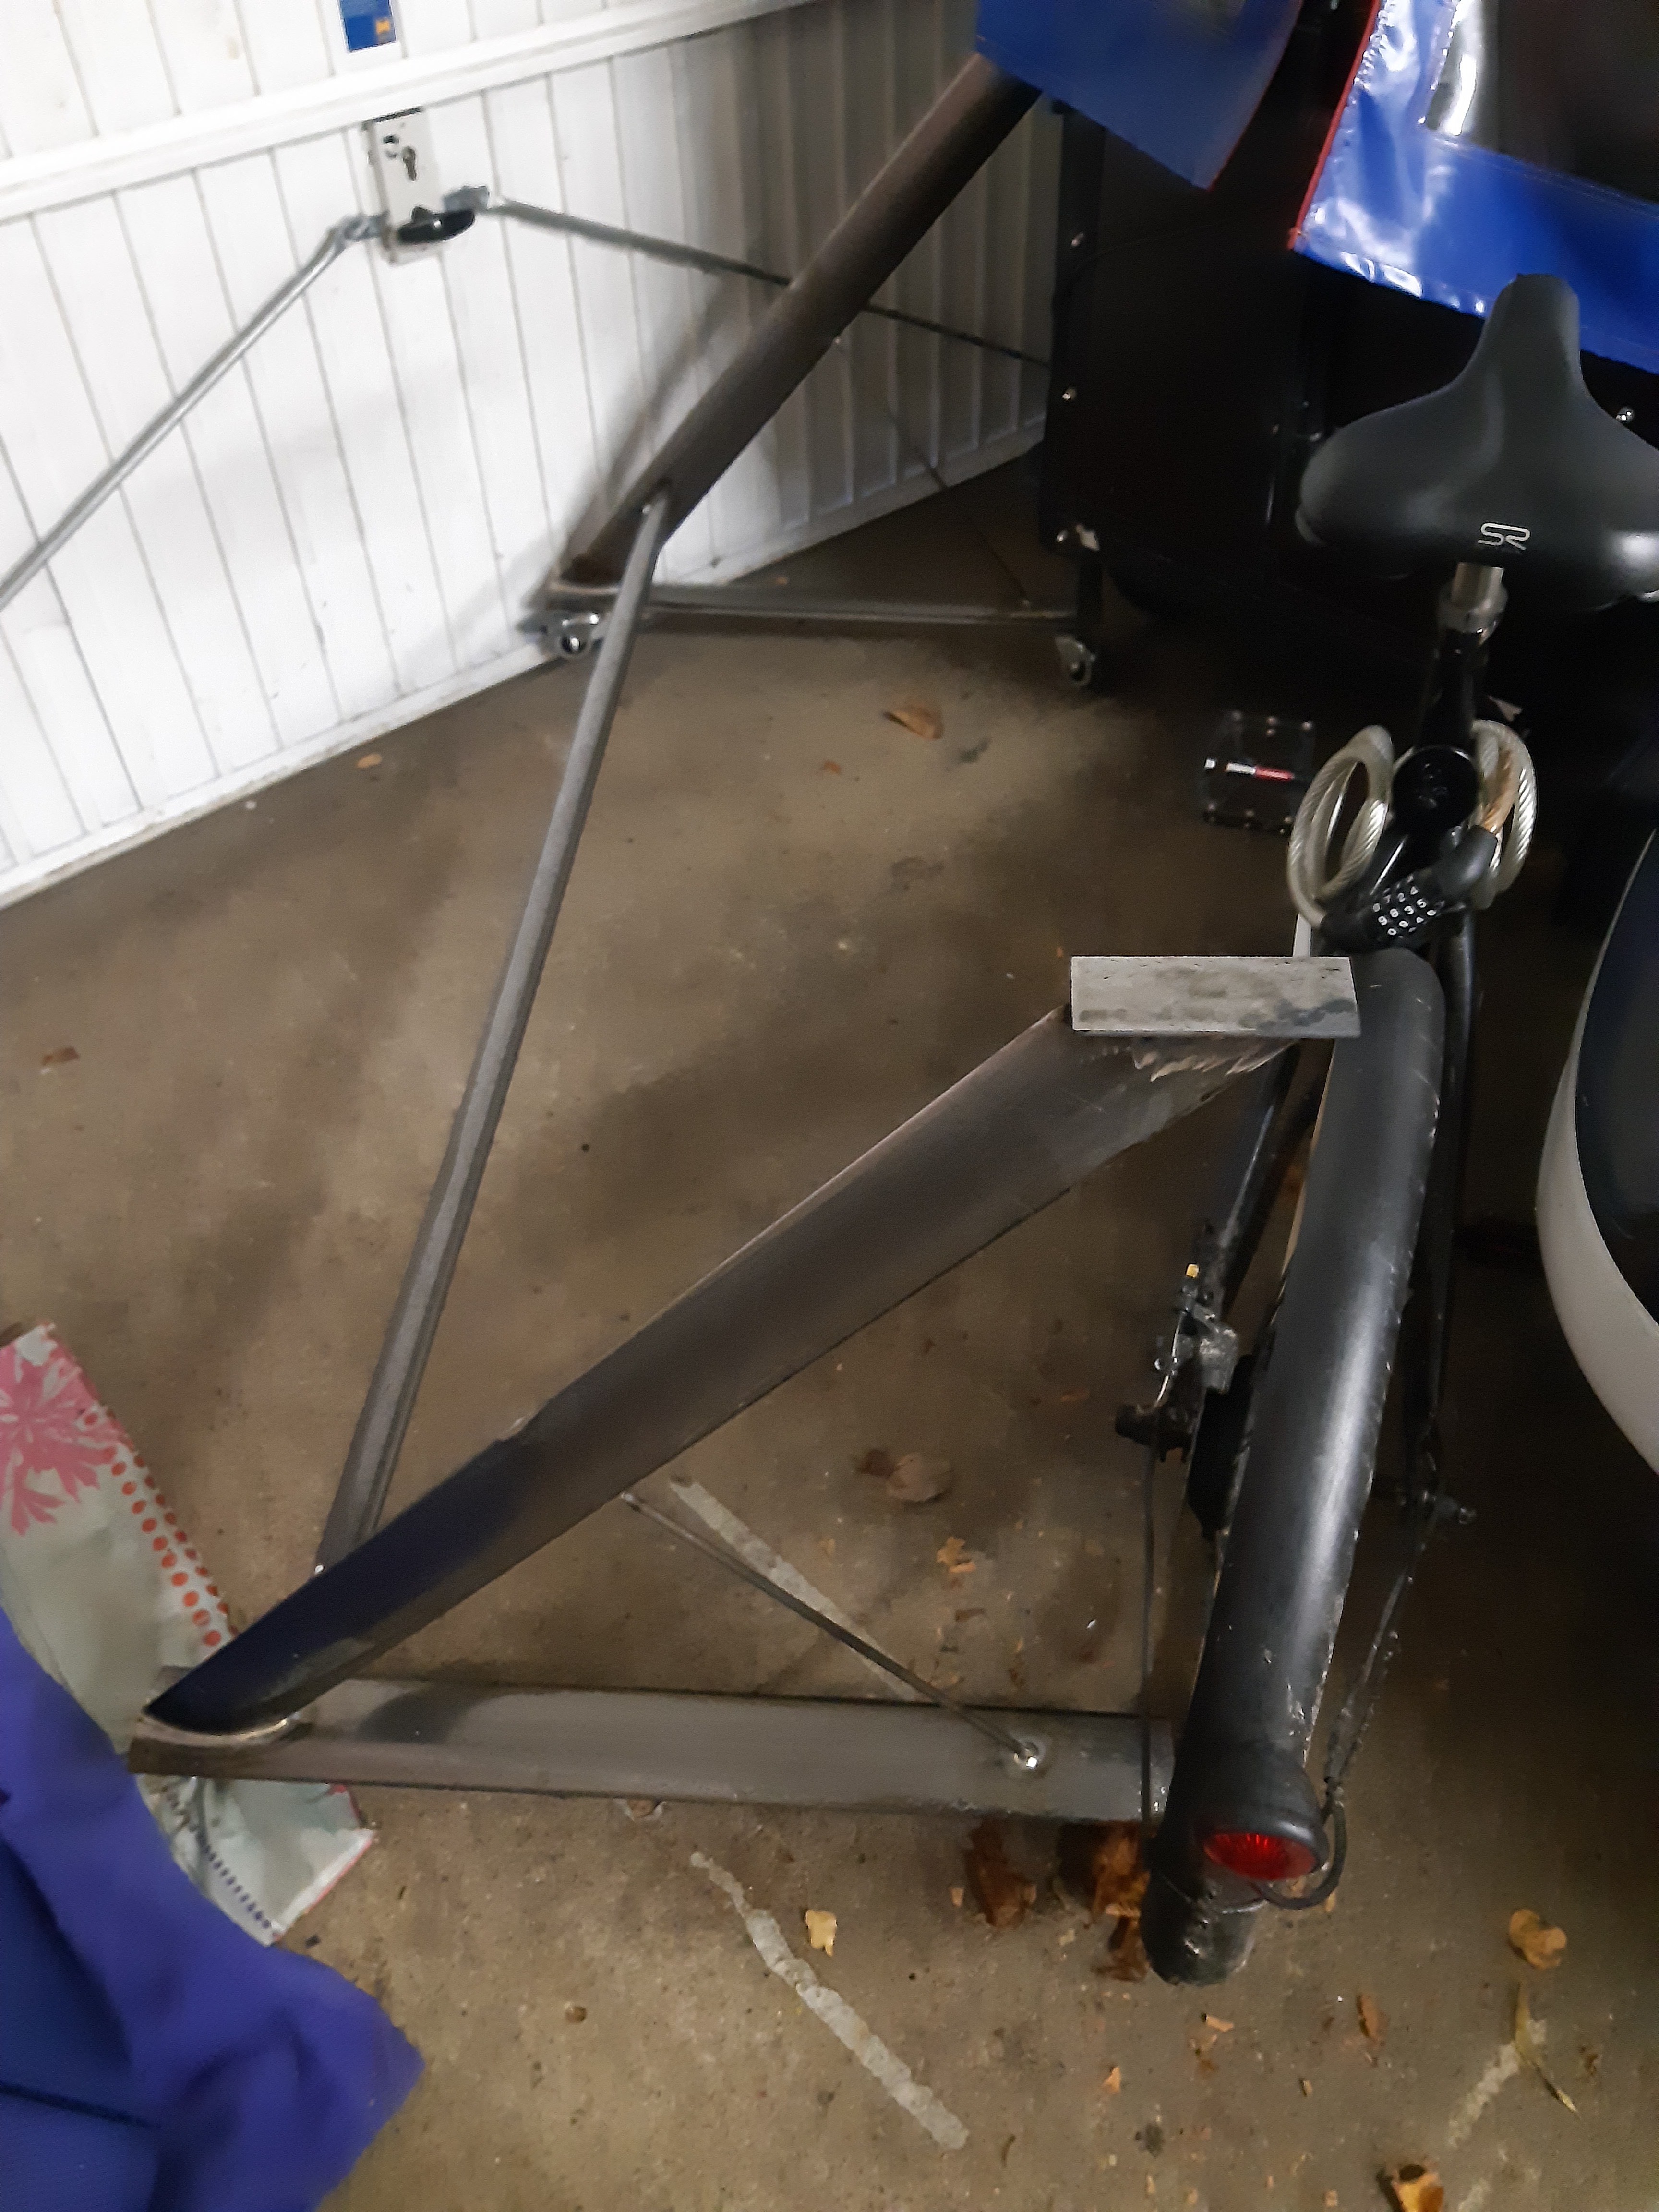
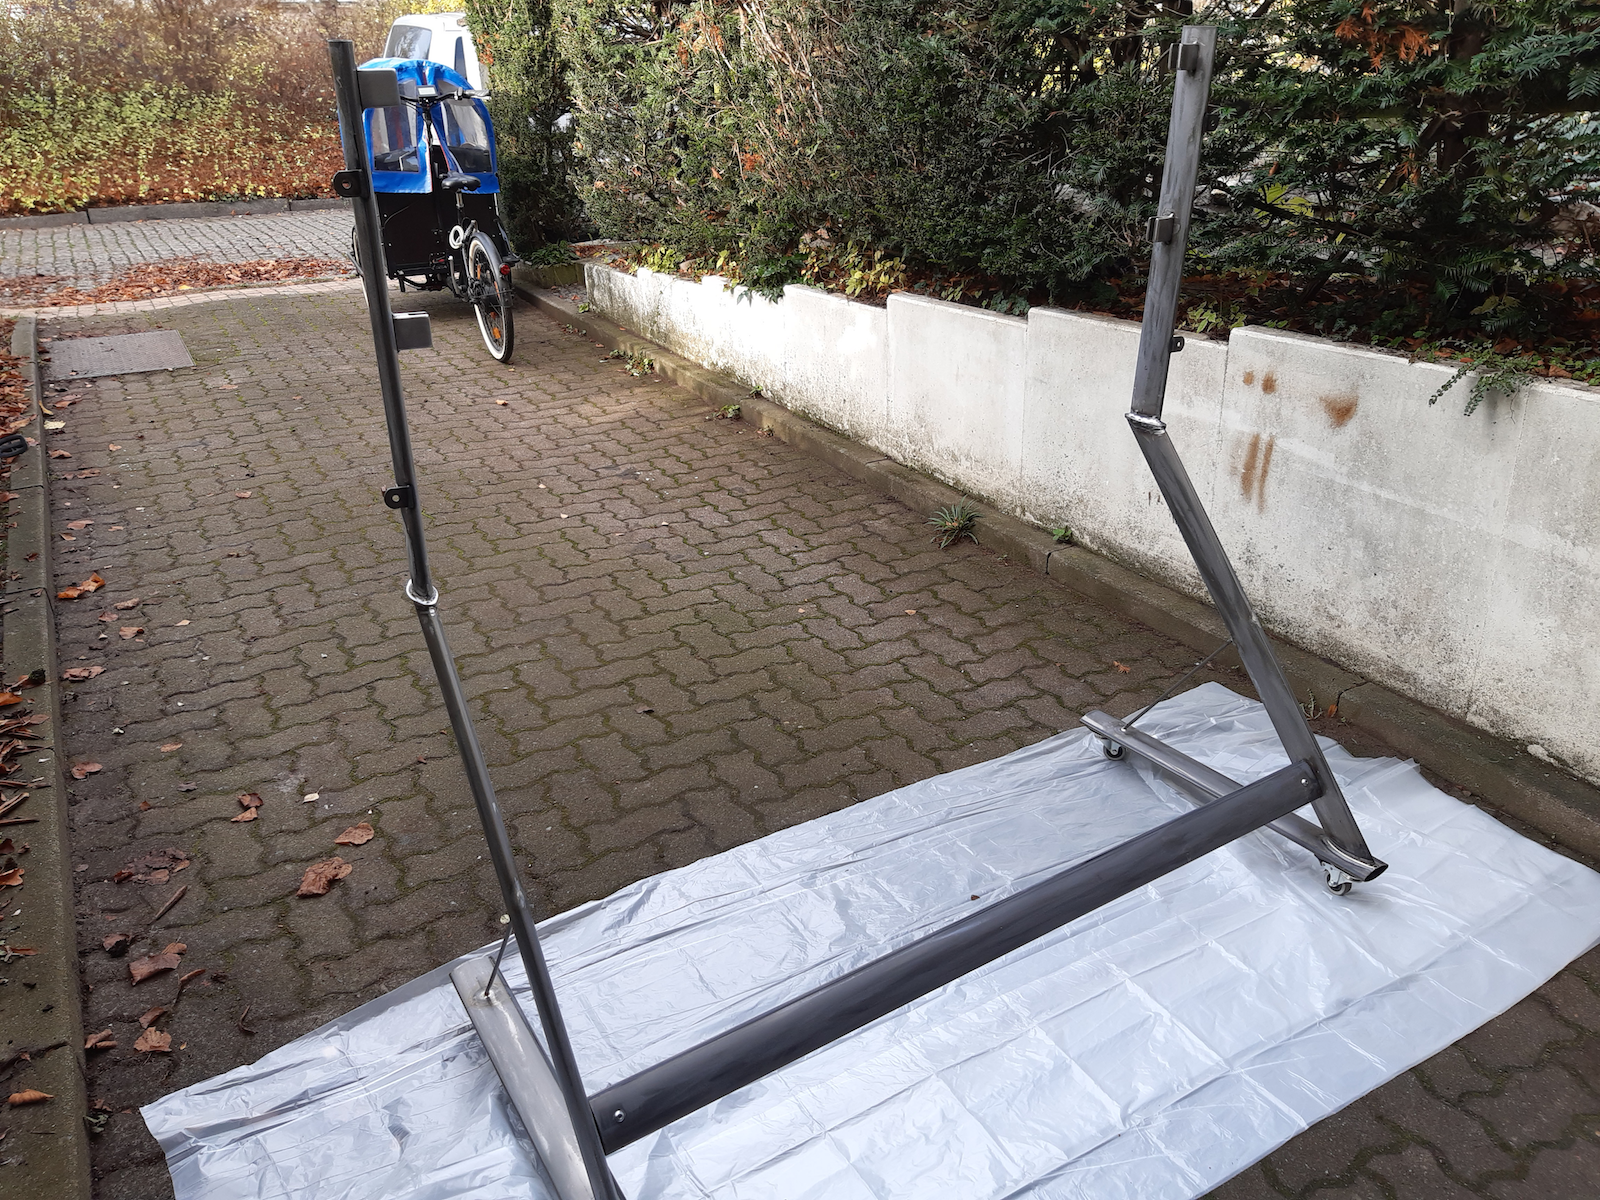
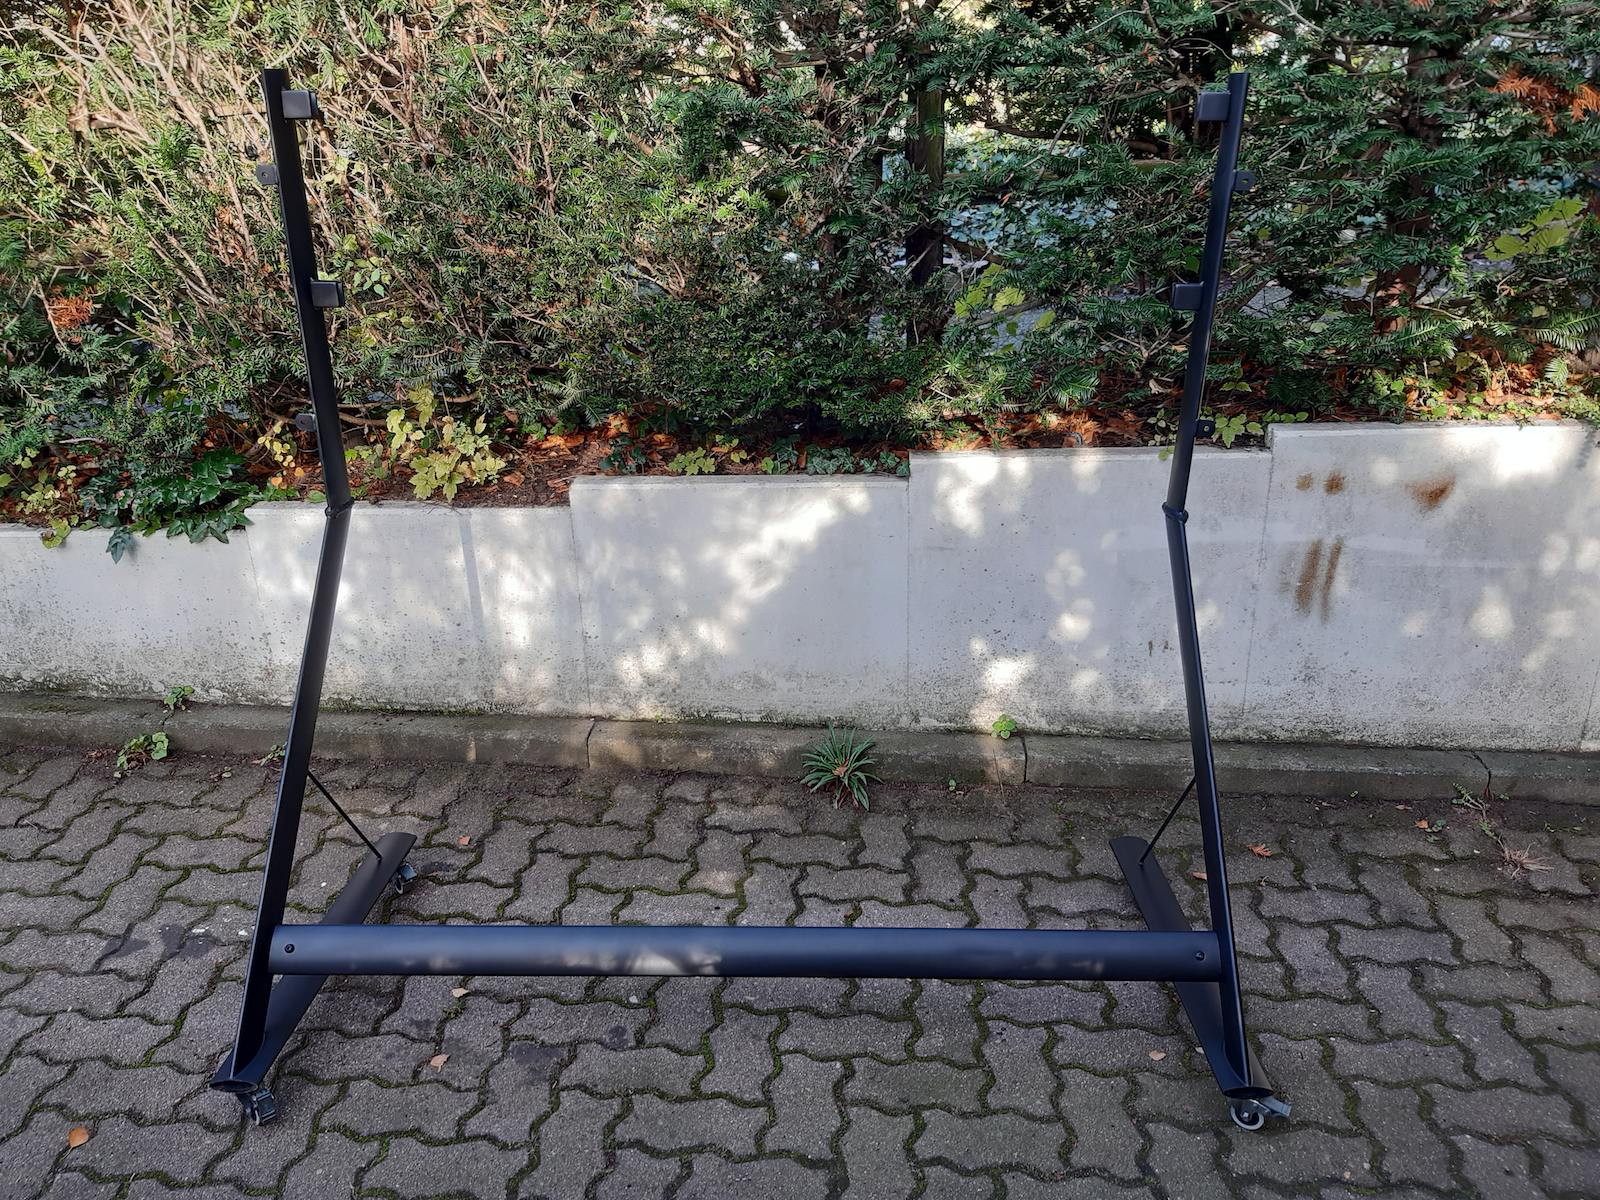
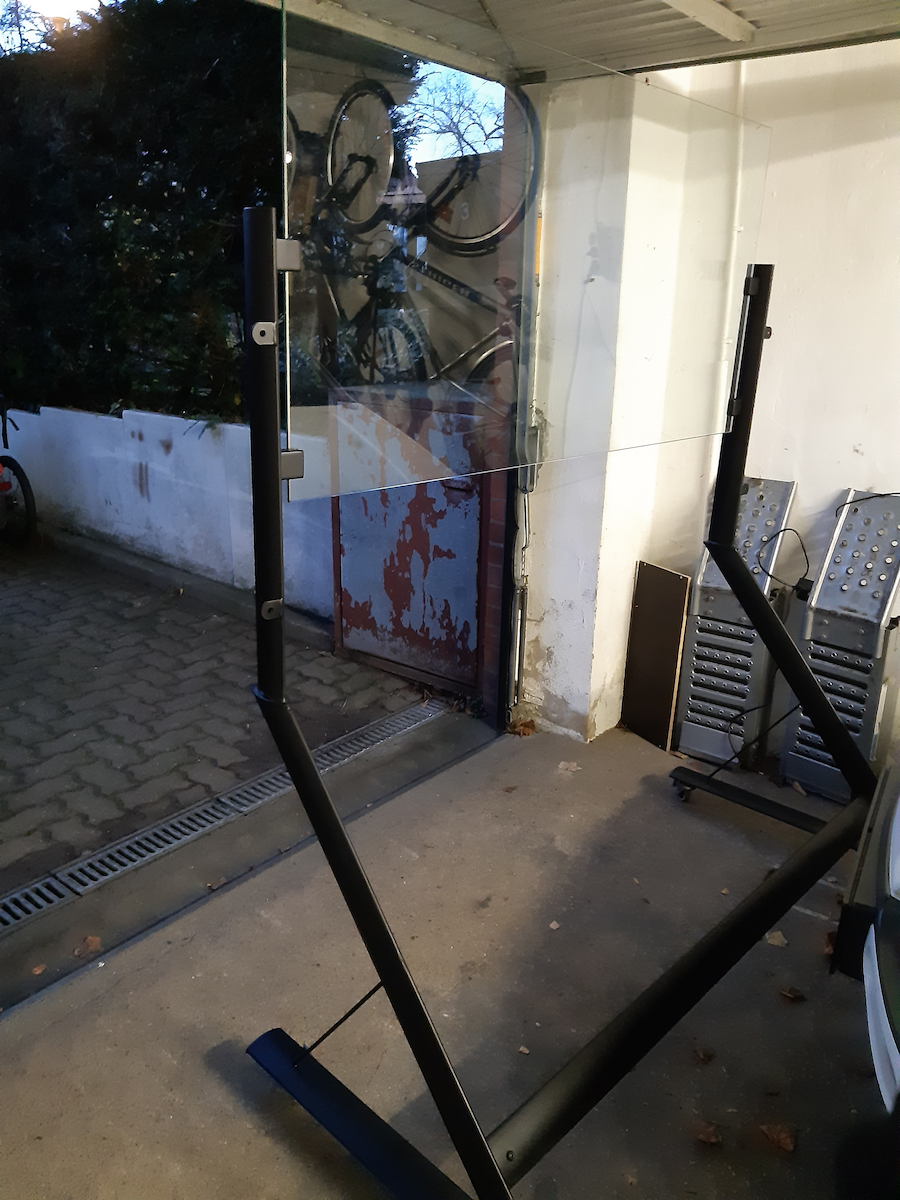
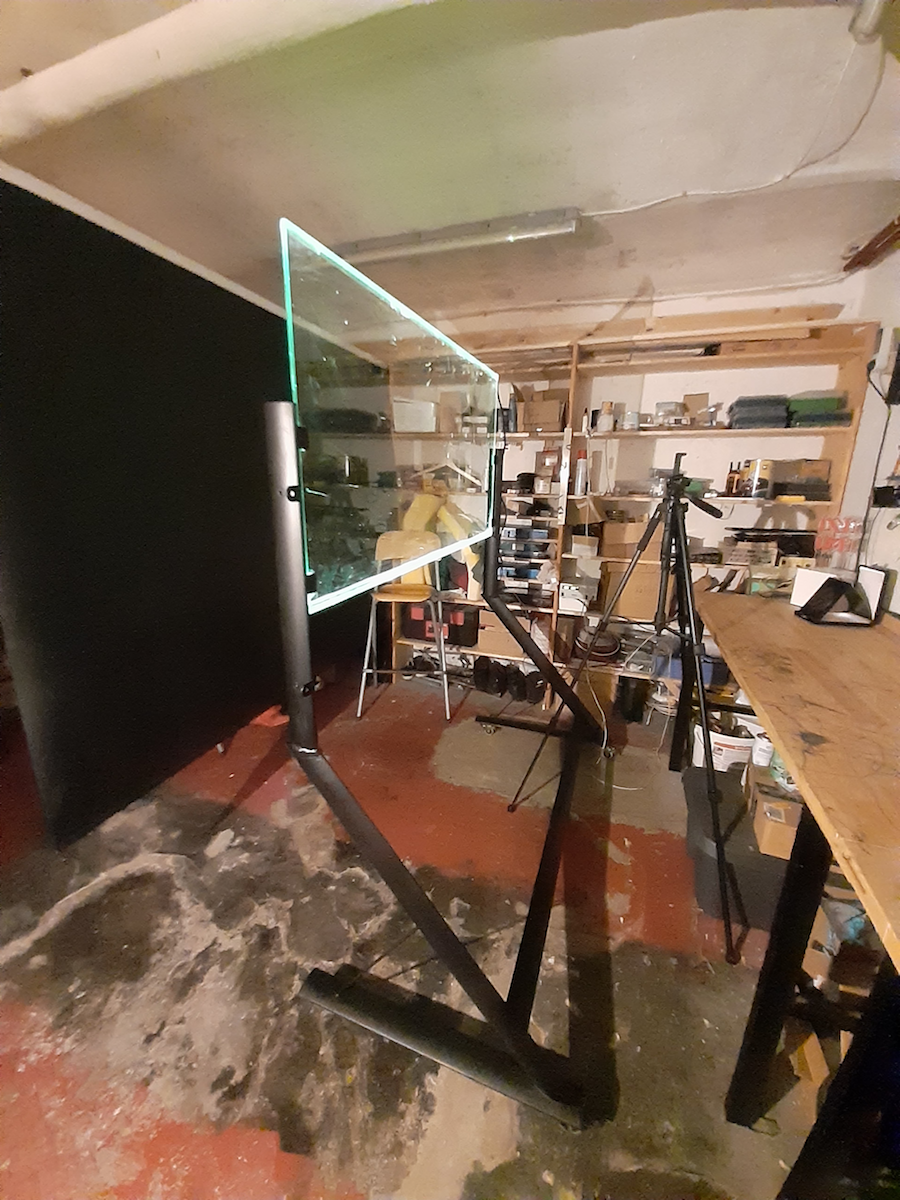
Below you can see some snapshots of the individual steps.
Details to the Lightboard Construction
The light board construction is based on
- A glas pane, 8mm thick. Hint: do not use acrylic glass or glas panes thinner than 8mm. I got an used glass/metal desk for 20EUR.
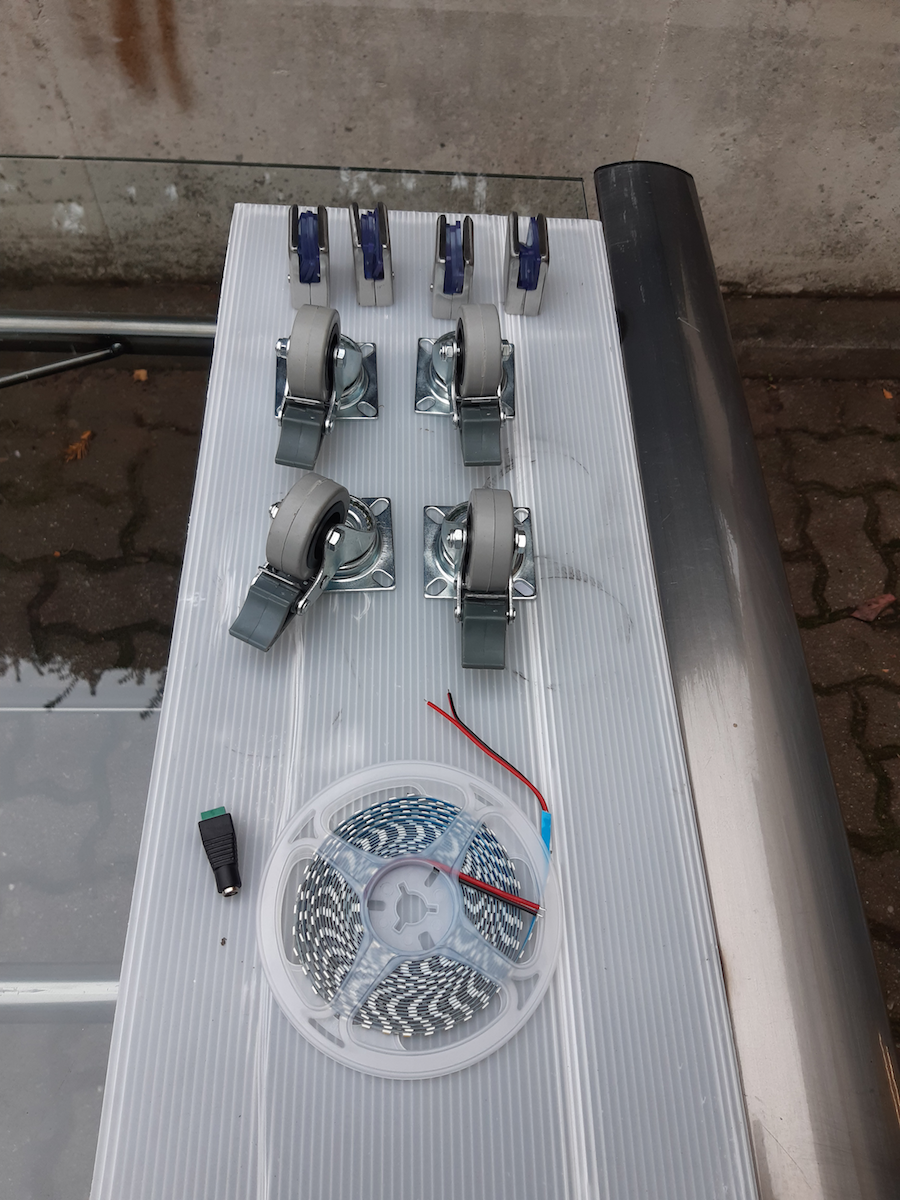
- LED stripes from YUNBO 4mm width, e.g. from [4] for 13EUR. Hint: Larger LED strips, which you can typically get at DIY markets have width of 10mm. These strips do not fit into the transparent u profile.
- Glass clamps for 8mm glass, e.g., from onpira-sales [5] for 12EUR.
- Transparent U profiles from a DIY store, e.g., the 4005011040225 from HORNBACH [6] for 14EUR.
- 4 castor wheels with breaks, e.g. from HORNBACH no. 4002350510587 for 21EUR.
Details to the Markers, the Background and the Lighting
Some remarks are given below on the background, the lighting and the markers.
- I got well suited flourescent markers, e.g., from [6] for 12EUR. Hint: Compared to liquid chalk, these markers do not produce any noise during the writing and are far more visible.
- The background blind is of major importance. I used an old white roller blind from [7] and turned it into a black blind using 0.5l of black paint. Hint: In the future, I will use a larger blind with a width of 3m. A larger background blind is required to build larger lightboards (mine is 140x70mm). Additionally, the distance between the glass pane and the blind could be increased (in my current setting I have a distance of 55cm).
- Lighting is important to illuminate the presenter. I currently use two small LED spots. However, in the future I will use professional LED studio panels with blinds, e.g. [8]. Hint: The blinds are important to prevent illuminating the black background.
- The LED stripes run at 12Volts. However, my old glass pane had many scratches, which become fully visible at the maximum power. To avoid these distracting effects, I found an optimal setting with 8Volts worked best for my old glass pane.
Details to the Software and to the Microphone
At the University, we are using CISCO’s tool WEBEX for our virtual lectures. The tool is suboptimal for interactive lightboard lectures, however, with some additional tools, I converged to a working solution.
- Camera streaming app, e.g., EPOCCAM for the iphones or IRIUN for android phones. Hint: the smartphone is mounted on a tripod using a smartphone mount.
- On the client side, a driver software is required. Details can be found when running the smartphone app.
- On my mac, I am running the app Quick Camera to get a real time view of the recording. The viewer is shown in a screen mounted to the ceiling. Hint: The screen has to be placed such that no reflections are shown in the recordings.
- In the WEBEX application, I select the IRIUN (virtual) webcam as source and share the screen with the quick camera viewer app.
- To ensure an undamped audio signal, I am using a lavalier microphone like that one [9].
- For offline recordings, apple’s quicktime does a decent job. Video and audio sources can be selected correctly. Hint: I also tested VLC, however, the lag of 2-3 seconds was perceived suboptimal by the students (a workaround with proper command line arguments was not tested).
An Example Lecture
And that’s how it looks …

