1

Responsibilities & Contacts

This post provides information on whom to contact depending on your purpose.

Note that this post is continuously updated to keep the contact persons up-to-date. 

If you discover out-dated information, please contact our secretary


Bettina Hotter

  • Bewerbungen Wissenschaftliches Personal. 

Bettina.Hotter@unileoben.ac.at

Für Absagen: xyz@unileoben.ac.at


Karin Taxacher

  • Bewerbungen Nicht-Wissenschaftliches Personal. 

karina.taxacher@unileoben.ac.at

Sabine Fluch

  • CISCO telephone stations for new employees. 

sabine.fluch@unileoben.ac.at


Helga Winklmayr

  • Transponder. 

helga.winklmayr@unileoben.ac.at

Julia Schmidbauer

  • Knowledge- and Technology Transfer & Business Partnerships

julia.schmidbauer@unileoben.ac.at

Moodle Courses

SAP GUI MAC


Adding a New Thesis

As Ph.D. student and as senior research you will supervise undergraduate and graduate students. 

Often students contact the chair and ask for thesis topics or even approach us with their own ideas. That’s great and the chair usually forwards these requests to Ph.Ds. and senior research to do research in that domain. 

Once you agreed on a topic with a student, you will need to define a roadmap or thesis concept with the student. 

The thesis topic will be published on our web page. Below are the instructions on how to do that. 

Clone an Existing Thesis Post

The best strategy is to clone an existing post. Is this is new to you, follow our instructions in the linked post. 

Select the Correct Category

Three categories are used for student theses:

  1. teaching_currentthesestopics
  2. teaching_openthesestopics
  3. teaching_pastthesestopics

For current ongoing theses use the first category, for open topics use the second, and for completed theses use the last category. 

Mandatory Information of your Thesis Post

  • The supervisors. Usually that are the chair and you. 
  • The start date. 
  • The end date for completed theses. 
  • An abstract.
  • A Roadmap with mandatory and optional tasks.
  • A list of related work. 

Add the Student’s Contact Details

Add the name and email of the student to our CPS list for informing the student about upcoming talks and important internal issues. 


Adding a New Publication

File Naming Conventions

First you need to give your pdf file a proper name, e.g., IROS2021Rueckert.pdf. Use the following naming convention

  • ConferenceAcronymYYYYFirstAuthorLastName

The ConferenceAcronym is for example ICRA, Humanoids, NeurIPS or for journals JMLR, RAL, etc.

YYYY denotes the year like 2021.

The FirstAuthorLastName might be followed by a keyword, if you have multiple papers at the same conference or journal. 

Featured Image

Create also a Featured Image from taking a screenshot of your paper. Use the same filename as above with the image file type, e.g. IROS2021Rueckert.png.

Upload your files to the

Upload both files to the media library.

Add a new publication

  • use the “Publications/Add new” plugin
  • enter the title, Author, Date of publishing
  • for type=Journal Article, enter volumne, number, doi
  • for type=Inproceedings, enter the booktitle, address of the conference
  • create the bibkey using the button
  • URL/File=https://cps.unileoben.ac.at/
    wp/
    AR2018Paraschos.pdf, Article File (replace the author name in the url)

Edit the Post in Elementor

  • bookmarks: select add to your own list
  • select at least one tag
  • image URL=https://cps.unileoben.ac.at/
    wp/AR2018Paraschos
    .png (replace the author name in the url)
  • press the create button and you are DONE!


How to use our FRANKA EMIKA Panda

Franka World Account


Franka Emika Webinterface

To connect to the web interface, use the robot PC. Open the browser and visit the website: https://robot.franka.de/ or via IP 172.16.0.2 . The access data for the web interface are as follows:

Account name: CPSFranka
PW: bs6m6BYftuQjd8p

Getting started with the Guiding Mode

Before you start with the guiding mode you should get to know the status colors of the Franka Panda. You can find them in the picture below. In case of difficulties, the user manual on page 137 provides you with initial assistance.


In guiding mode, motion of the arm follows the corresponding guiding configuartion, which is displayed in the sidebar. The guiding configuration can be changed by pressing the guiding mode button on top of the grip. You can also select the guiding mode in the web interface.

  • Translation: In this guiding mode, the arm can only be moved to change the Cartesian orientation of the hand; its orientation remains as it was before entering the guiding mode.
  • Rotation: In this guiding mode, the arm can only be moved to change the Cartesian orientation of the end effector; its position remains as it was before entering guiding mode. The reference coordinate system for this rotation is the predefined coordinate system of the end effector.
  • Free: The arm can be moved freely, all 7 joints can be moved.
  • User: The user can define the guiding behavior in this guiding mode, meaning that it is possible to define for each Cartesian translation and rotation axis if the arm is moveable or immovable.

Teaching the Robot to Pass Through a Sequence of States

You can register a sequence of robot configurations as target states. These points can be autonomously approached, one after another. 

Activating the Mode ‘Guide Task’

To set up a guide task, press the “+” button next to the tasks in the lower left part of the web interface. Next, you can add either a Cart Motion App or a Joint Motion App. After you have set up the task, you can begin the guidance process.

To start the guidance program, unlock the robot’s joints in the web interface and check that the two switches are off (on the right of the window). Next, open the first app of your task. Now you need to go to the robot and press the two buttons at the end of the end effector. Then move the robot arm to the first control point and press the “o” button on the control panel, repeat this process until you have completed your guidance program. Finally, press the green check button. Now you only have to enter the maximum speed and acceleration for your task and you are done with the first app. Use the same procedure for all apps. You can then return to the computer and start your program after unlocking the safety switch.

ATTENTION: Do not be in the robot’s danger zone at any time while your guidance program is running!


Robot How to Build a USB Controlled Treadmill

This post discusses how to develop a low cost treadmill with a closed-loop feedback controller for reinforcement learning experiments.

MATLAB and JAVA code is linked.

Code & Links

The Treadmill

  • Get a standard household treadmill Samples
  • Note: It should work with a DC-Motor, otherwise a different controller is needed!


The Controller and the Distance Sensor

  • Pololu Jrk 21v3 USB Motor Controller with Feedback or stronger (max. 28V, 3A)
  • Comes with a Windows Gui to specify the control gains
  • Sharp distance sensor GP2Y0A21, 10 cm – 80 cm or similar
  • USB cable
  • Cable for the distance sensor
  • Power cables for the treadmill
  • Controller User Guide by Polo

The Matlab Interface

  • Get the java library  build or the developer version, both from Sept 2015 created by E. Rueckert.
  • Run the install script installFTSensor.m (which add the jar to your classpath.txt)
  • Check the testFTSensor.m script which builds on the wrapper class MatlabFTCL5040Sensor (you need to add this file to your path)


Robot LEGO Robotics EV3 Dev

LEGO EV3 for Robotic Tasks

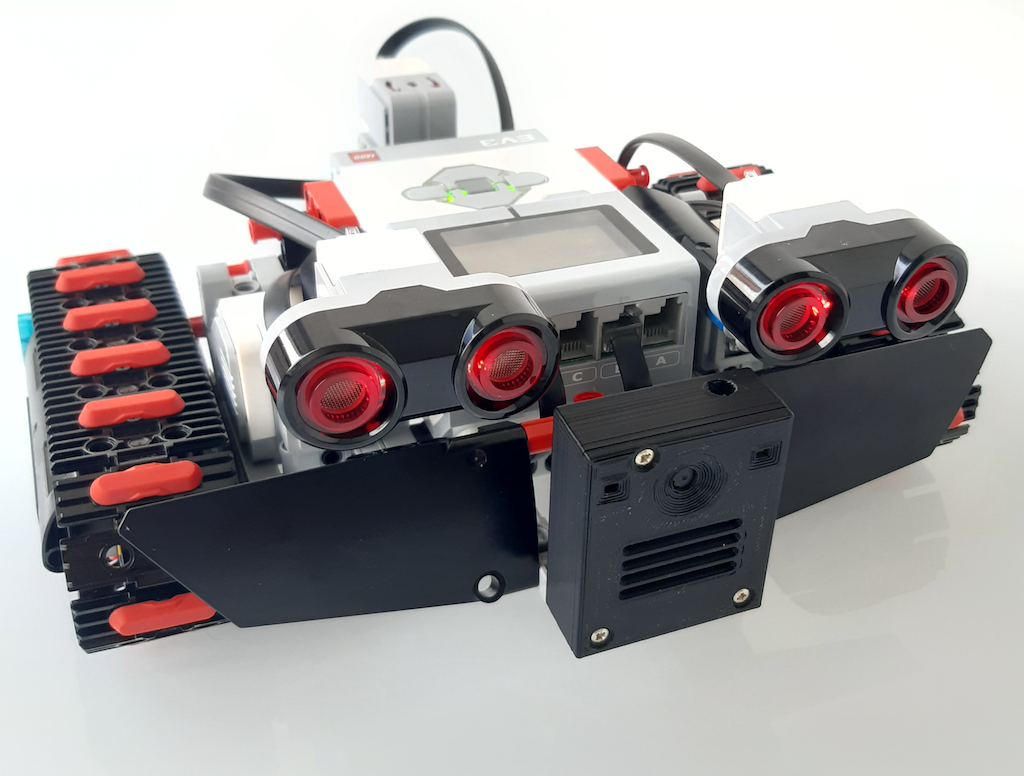
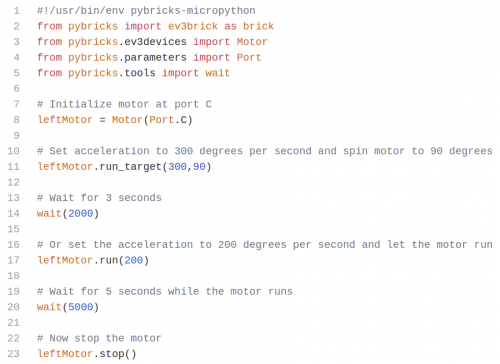
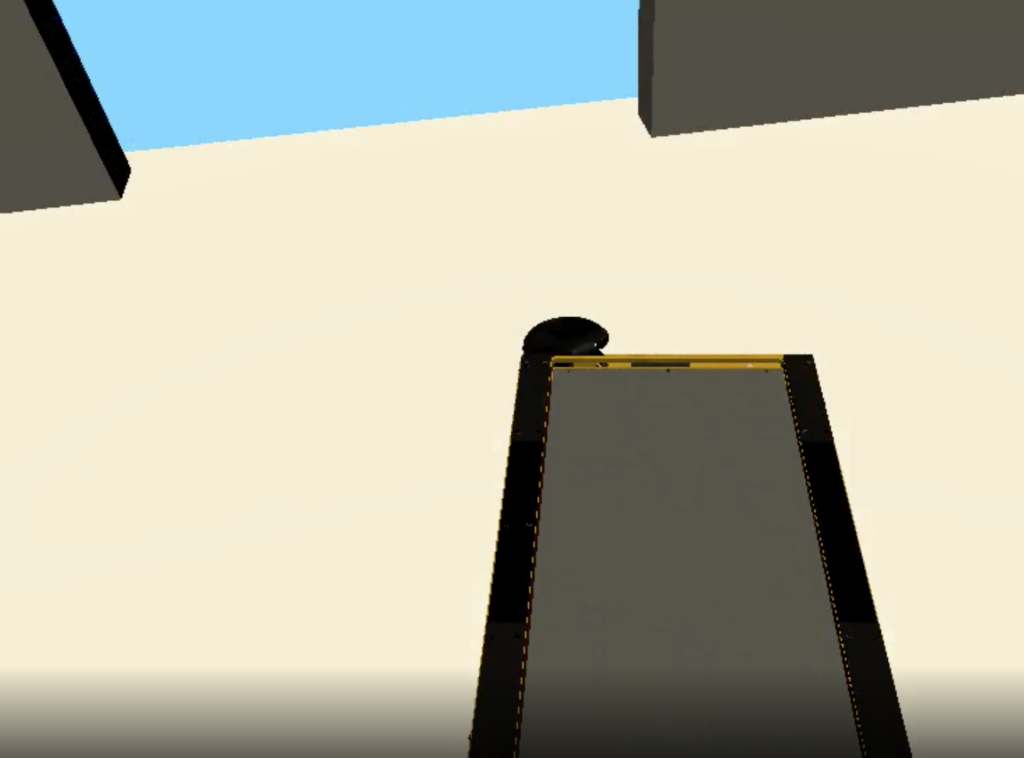
We have five EV3 sets and use them for studying robot control, motion planning and visual navigation from depth images. 


We use our GitHup LEGO Python project for our developments. 

Tactile Sensing

Several special purpose sensors including depth image cameras (shown in the center in the image), IMUs, accelerometers, gyroscopes, sonic sensors (two are shown in the image), etc. can be connected to the EV3 brick. 

The EV3 systems can be used to explore neural sensor fusion approaches, embedded computing implementations and classical mobile robotics tasks.  


Videos

https://vimeo.com/501651310https://vimeo.com/374166607


Robot Hand RH8 with 19DoF

Human-inspired, Adult-size Dexterous Robot Hand

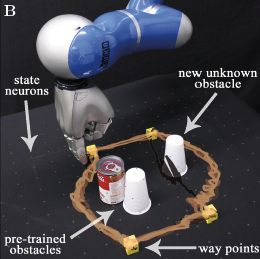
We use a adult-sized robot hand for learning grasping and object manipulation skills. The hand is mounted on our FRANKA EMIKA Panda robot

The hand has 19 degrees-of-freedom and uses 8 smart actuators for precise control (actuators contained inside the unit).

Under actuated design aims to provide the right balance between fine control and conformance to the shape of the objects.

Tactile Sensing

All actuators provide real time control and feedback of position, speed and current measurement (with direction), enabling inference of applied force.

Additional data including actuator temperature, (over)load status and PWM, a Palm ToF Distance sensor and optional Capacitive pads at the back of the palm complete the sensor array.

We also have five 3-axis force-torque sensors (FTS) (shown in the image) attached to each finger tip. The FTS measure contact force and shear forces with a resolution of 1mN / 0.1g.


Videos

  • Research videos using the robot will be presented here. 


Publications

2020

Xue, H.; Boettger, S.; Rottmann, N.; Pandya, H.; Bruder, R.; Neumann, G.; Schweikard, A.; Rueckert, E.

Sample-Efficient Covariance Matrix Adaptation Evolutional Strategy via Simulated Rollouts in Neural Networks Proceedings Article

In: International Conference on Advances in Signal Processing and Artificial Intelligence (ASPAI’ 2020), 2020.

Links | BibTeX

Sample-Efficient Covariance Matrix Adaptation Evolutional Strategy via Simulated Rollouts in Neural Networks


GitHub FRANKA EMIKA Panda, ROS

We are developing a repository for real-time control of the FRANKA EMIKA Panda 7-dof robot arm.

Our project is based on ROS and allows to teleoperate the robot arm in real-time using motion tracking data provided by OptiTrack’s Motive software


GitHub Project and Links

Videos

  • Research videos using the robot will be presented here. 


Publications

2020

Xue, H.; Boettger, S.; Rottmann, N.; Pandya, H.; Bruder, R.; Neumann, G.; Schweikard, A.; Rueckert, E.

Sample-Efficient Covariance Matrix Adaptation Evolutional Strategy via Simulated Rollouts in Neural Networks Proceedings Article

In: International Conference on Advances in Signal Processing and Artificial Intelligence (ASPAI’ 2020), 2020.

Links | BibTeX

Sample-Efficient Covariance Matrix Adaptation Evolutional Strategy via Simulated Rollouts in Neural Networks


Robot FRANKA EMIKA Panda


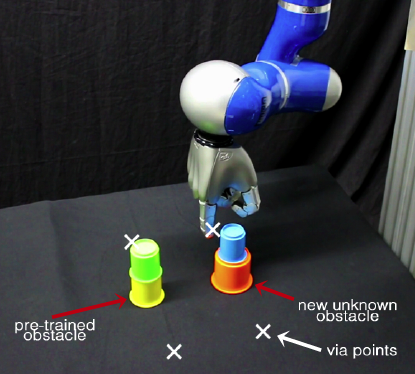
FRANKA EMIKA’s Panda robot arm is a complient, light-weight robot arm with seven degrees-of-freedom. 

We use the C++ libfranka library in our own ROS project for learning complex manipulation skills. 

Links

Videos

  • Research videos using the robot will be presented here. 


Publications

2020

Xue, H.; Boettger, S.; Rottmann, N.; Pandya, H.; Bruder, R.; Neumann, G.; Schweikard, A.; Rueckert, E.

Sample-Efficient Covariance Matrix Adaptation Evolutional Strategy via Simulated Rollouts in Neural Networks Proceedings Article

In: International Conference on Advances in Signal Processing and Artificial Intelligence (ASPAI’ 2020), 2020.

Links | BibTeX

Sample-Efficient Covariance Matrix Adaptation Evolutional Strategy via Simulated Rollouts in Neural Networks


GitHub ROS Gazebo Tutorial

Nils Rottmann, M.Sc. has developed a tutorial on using ROS and Gazebo. 

This tutorial was used in our humanoid robotics and machine learning lectures. 

GitHub Code & Links

Weitere Links und Tutorials